Light and glass
Photographing a cocktail at home
How to photograph a drink with a phone and a window — and why the fastest-melting subject in food photography needs a different approach.
A cocktail is a difficult photographic subject: it is transparent, it is reflective, and it is visibly deteriorating from the moment it is made. The techniques that work are mostly about preparation and light rather than equipment.
Light behind, not in front
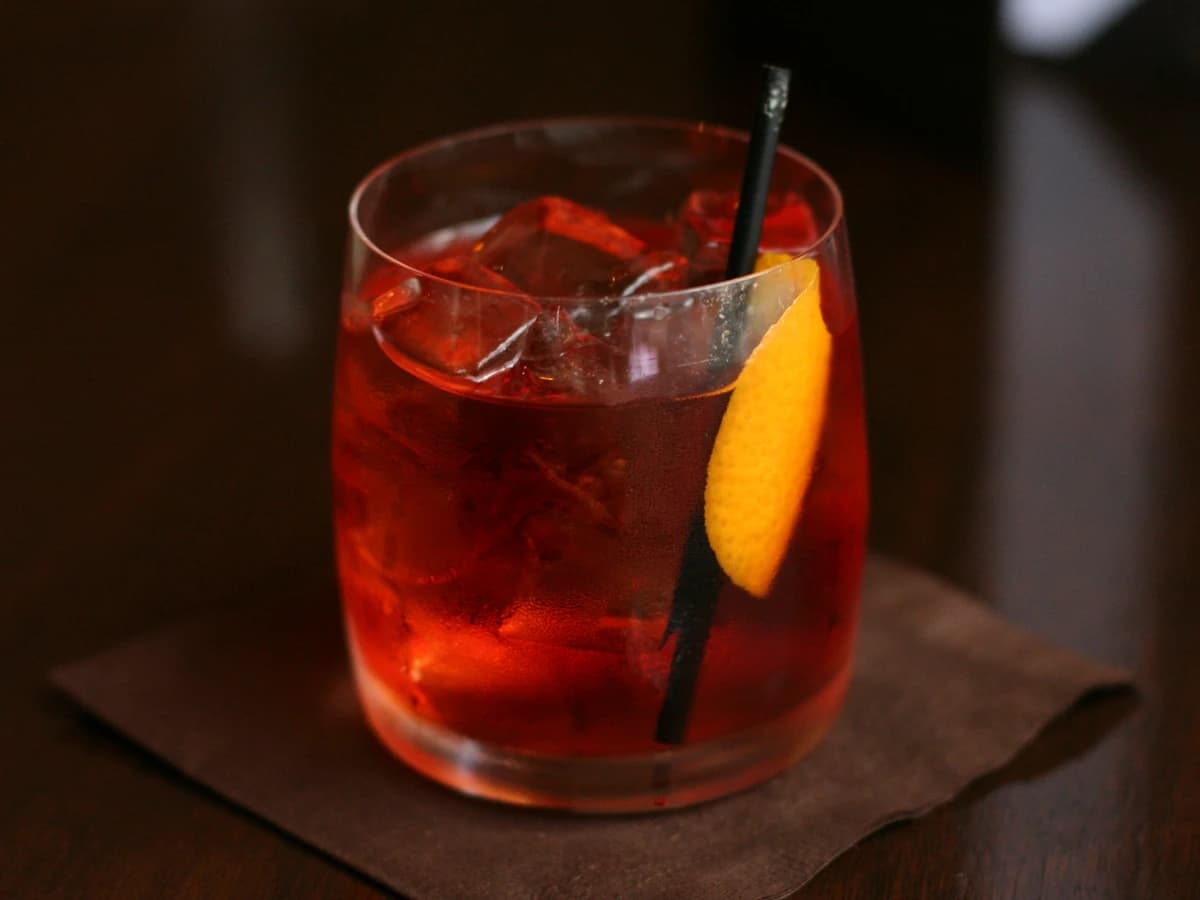
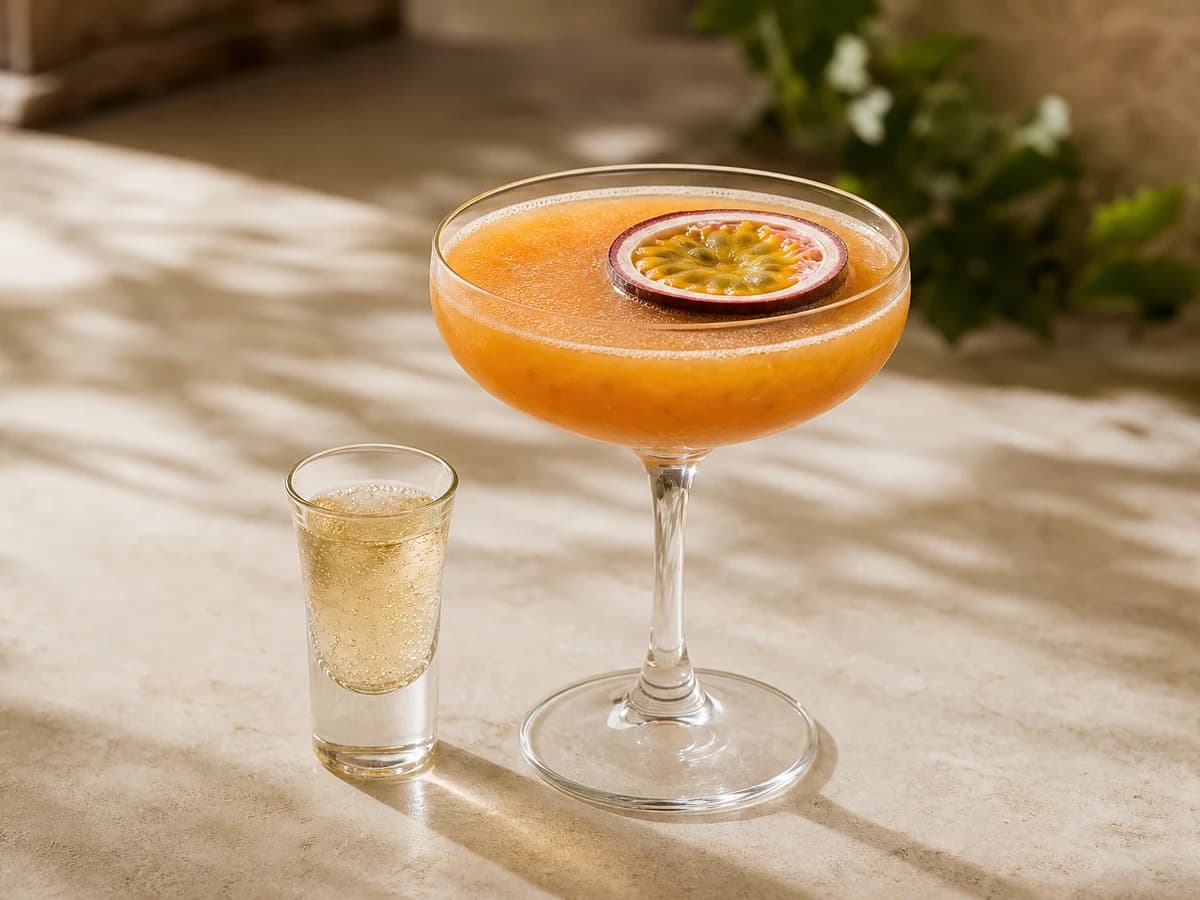
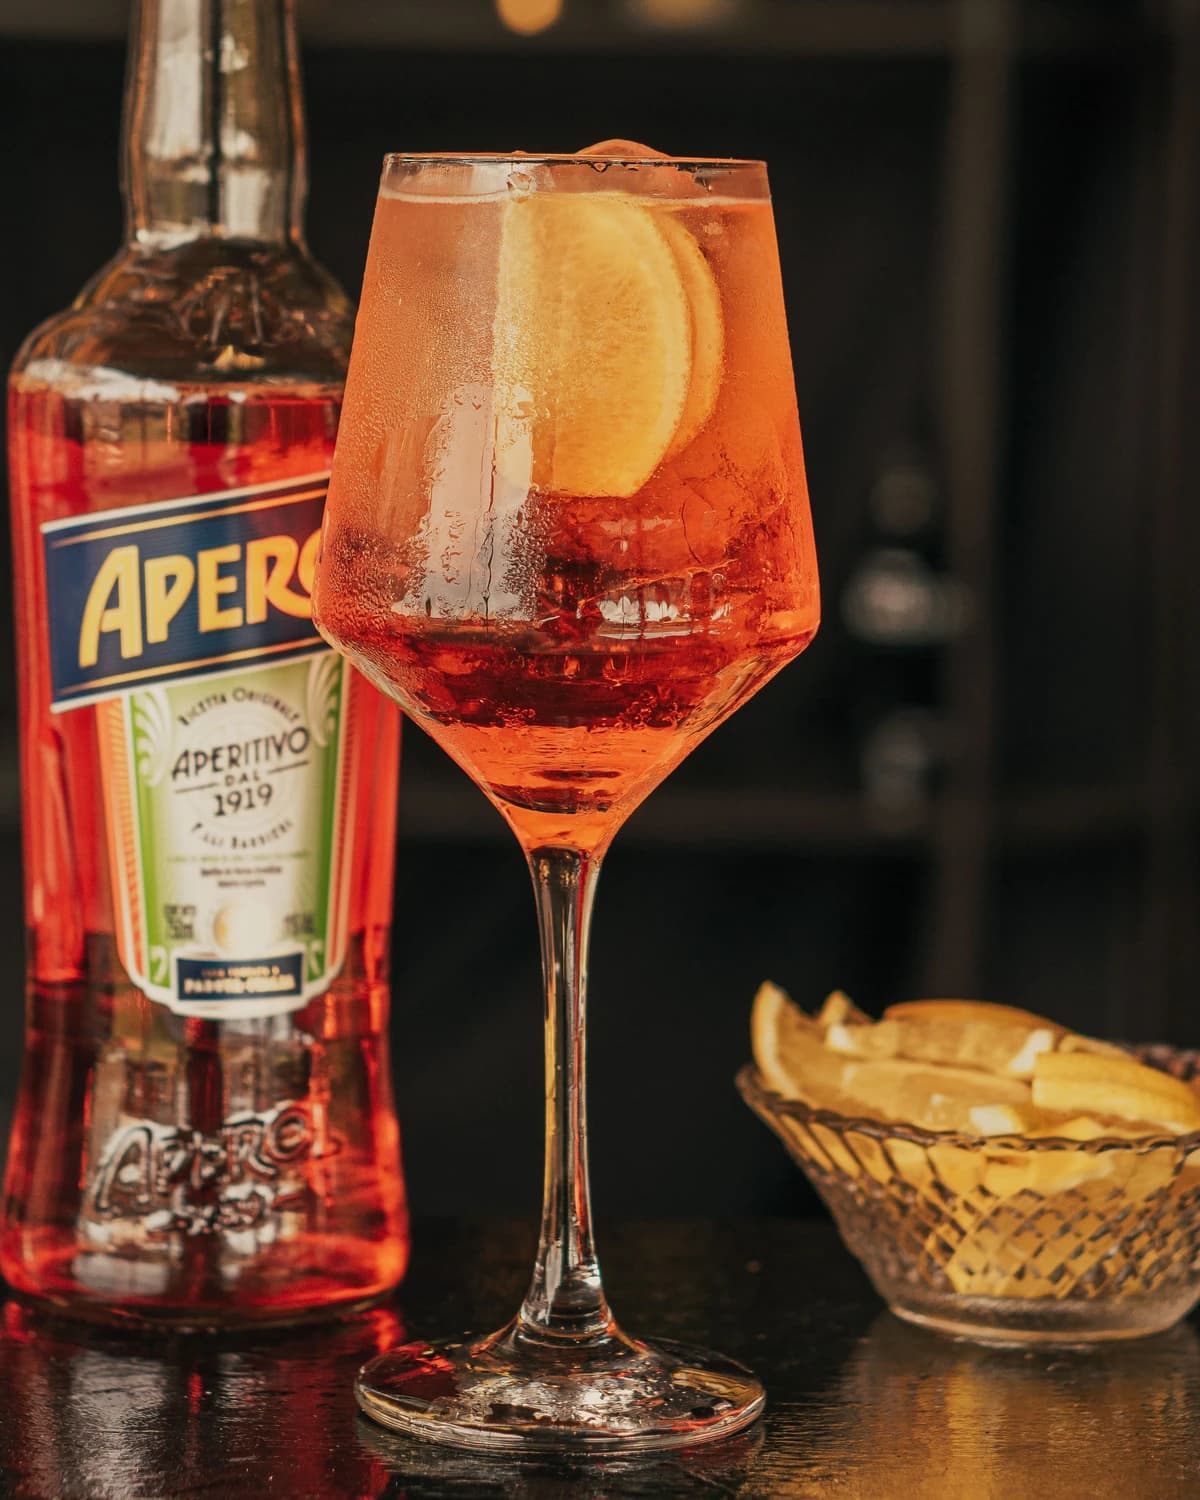
The single biggest change is to stop lighting a drink from the front. Transparent liquid photographs best backlit or side-lit, because light passing through the glass is what produces colour and depth; light bouncing off the front produces glare and a flat, muddy interior.
A window is the whole lighting setup. Put the drink between you and the window, slightly off-axis, and use a sheet of white paper on the shadow side to lift the darker edge. Direct sunlight is too harsh; an overcast day is close to ideal.
Turn off overhead lights. Mixing warm indoor light with cool daylight produces colour casts that are tedious to correct and obvious when uncorrected.
Working fast
Set up before you build the drink. Compose the shot with an empty glass, get the focus and exposure right, then make the drink and place it. A cocktail looks its best for about ninety seconds — condensation, settling and melting all work against you after that.
For anything layered or with a float, shoot immediately. For anything foamed, shoot immediately and expect to make a second one.
A slightly-below-eye-level three-quarter angle suits most glasses — high enough to see into the drink, low enough to show the glass's shape. Straight-down shots work for flat, wide glasses and almost nothing else.
The small things that show
Wipe the glass. Fingerprints and drips are invisible in the room and unmissable in the photograph. Use fresh ice rather than the cubes that have been sitting in the drink since you made it.
Keep the background quiet and close in tone to the drink, and leave space around the glass — a tightly cropped cocktail is hard to place in any layout later.
Then edit lightly. Raising contrast and correcting white balance is fine; heavy saturation makes a drink look artificial, which is the one impression a real photograph of a real drink should never give.
The short version
- Backlight or side-light: transparent subjects need light through them, not at them.
- One window and a sheet of white paper is a complete setup.
- Set up the shot before you build the drink — you have about ninety seconds.
- Wipe the glass, use fresh ice, and edit lightly.
Try it on
Recipes where this matters most
Keep reading
Related guides
The handful of unglamorous habits that separate a home cocktail from a bar one — most of them free, none of them equipment.
Expressing citrus oils, cutting a proper twist, and which garnishes actually alter what you taste rather than just what you see.